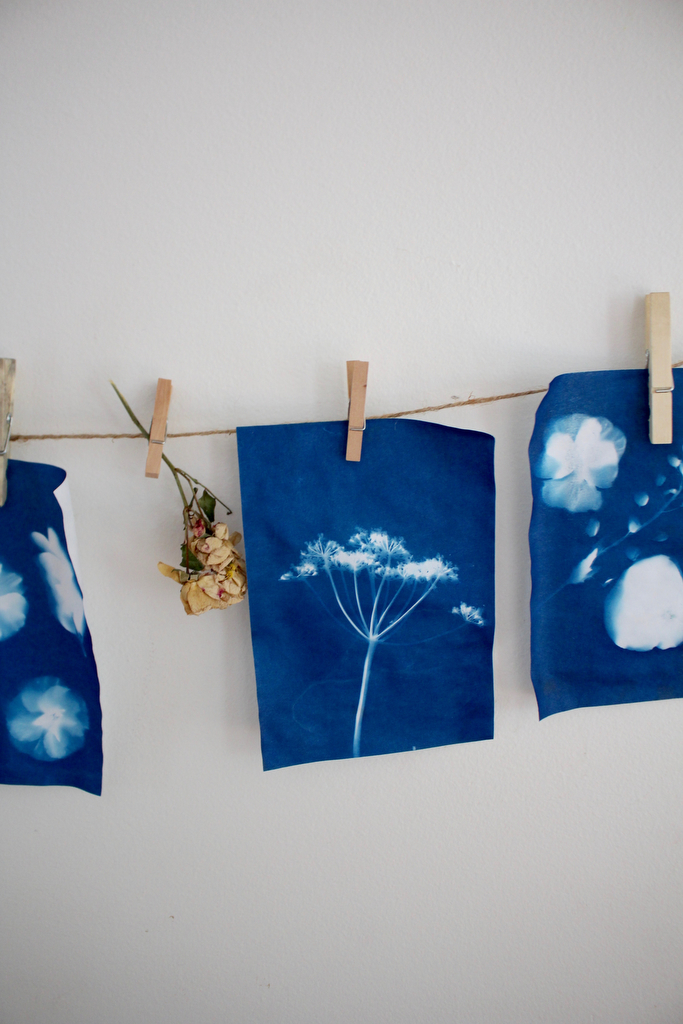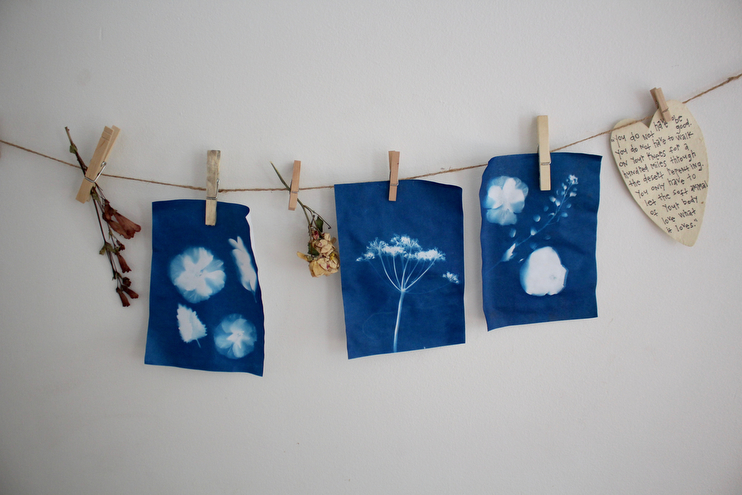

I’ve been meaning to share this beautiful nature-inspired craft with you for over a year now but I keep forgetting to snap photos of the process when the kids and I make them! We had a few hours to kill before supper the other day and the sun was shining so sun printing was the perfect idea. I love this activity so much for several reasons. For starters, it makes gorgeous art. Second, it gets the kids out into nature to forage things from our walks and around the yard. And third, it’s simple enough to do will all our babies who range in age from 1-5. Sun printing is a beautiful way to preserve the season while tapping into our creative side. Here is how to make these lovely prints!


Step 1: Source sun printing paper. I’ve purchased this kind and this one too. They come in a variety of sizes and colors but our favorite is the smaller 5×7 indigo.
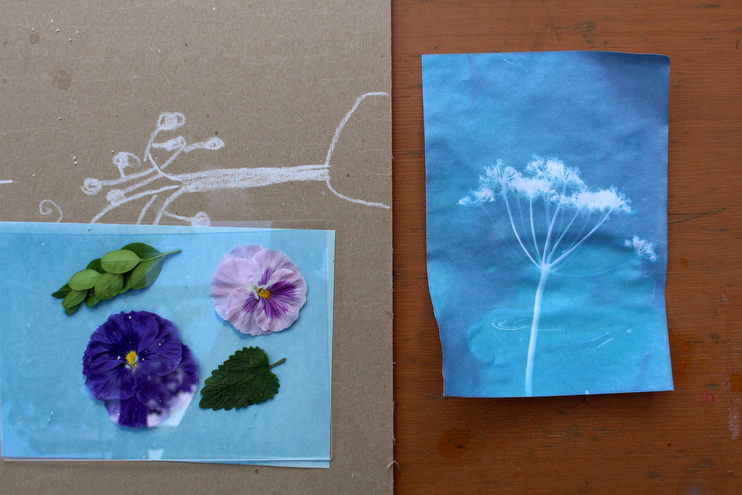
Step 2: Explore, snip, and forage bits and pieces of nature. You can use anything from leaves, to flowers, to branches, to petals for this craft. Well, you can actually use anything small enough to fit on the paper! Buttons and tiny odds and ends from around the house could be neat. When we do this I usually give the kids each a little gathering basket and let them go nuts as long as they don’t pick our growing food. Once Theodore picked the tops off about twelve of my *almost blooming* peonies and I just about died. It was one of those, “Good job, buddy!” …okay now I am going to go inside and take five deep breath, moments. That aside, I love seeing their imaginations take off as they roam around and carefully select things from around the yard to use for their print. It’s important work cultivating beauty, you know.
Step 3: Arrange your leaves and flowers on top the sun printing paper in a dark or shady spot. If you do this in the sunshine it will not product the most crisp results. I always let the kids have full creativity for this part and let them arrange as they please. No matter how they do it, each piece comes out unique and wonderful!


Step 4: Place a translucent sheet of plexiglass over the top of the sun paper to weigh down whatever is underneath. This step is optional but it does give a pressed flower look to the prints which I love.
Step 5: Put your paper on top of a sturdy piece of cardboard and set it out in the sunshine. We left our prints on the picnic table for about ten minutes. It could have been longer, the dog got into the kale and that caused a bit of a fuss.


Step 6: Bring your prints inside and rinse the paper really well in cold water, making sure the whole thing gets wet. They will lighten quite a bit during this process.
Step 7: Hang your prints somewhere out of direct sunlight to dry overnight. You will notice the paper will be really light after rinsing with water and will darken over time. The next day you will see that the impression left by the leaves and flowers will be white and the surrounding area an intense indigo color!
Step 8: These make really special handmade gifts (like for Mother’s Day) or you could hang them around your home to add some seasonal beauty.


Have fun in the sun, you guys! And remember even if you have little ones at home you can do this craft. They will love watching their art transform overnight.
.jpg)
Baltina Valente - What a great activity, the prints are so pretty. We have a very adventurous nature loving 18 month old that I think will love the foraging element. Thanks for sharing I can’t wait to make these with our daughter this weekend.
P.s. we made your olive oil cake recipe and it is just such a lovely treat. Thank you for sharing that too.
admin - Baltina, I am so glad you loved the cake! I am making another one for our Mother’s Day BBQ this weekend. Happy sun printing! x Amanda
Stef - sister, you inspire me so much its crazy! God has given you a gift. many gifts. I have never heard of this before! but did some searching and found that its possible to do on fabric as well. here is the link I found if you are curious too: https://www.gardendesign.com/diy-projects/sunprint.html (can you even imagine sunprinted curtains?!? I am tripping over this concept 🙂 )
from the bottom of my heart thank you! I feel that sunprinting will become a treasured tradition in our family and it will all be thanks to you!
Luce - amazing craft !!! THANK YOU Amanda, thank you ! ans Steph wow thank you for the link you posted, a sun printed dress looks like all i want right now 🙂 this spring weather and sunshine make my soul and heart so happy ! to more seasonal crafts and happy spirits ! cheers !
Tiffany - What a wonderful craft idea to do with the kids! Thank you so much for sharing. I can’t wait to try it!
Blessings to you, Amanda
jackie - Thanks so much for posting this! I’m going to try this with my Waldorf Parent Child class this week!! xx
Show & Tell | The Ing’s Of Early Summer » Homesong - […] paper sun printing and experimenting with […]
Botanical Sun Printing On Linens » Homesong - […] you ever done sun printing with fabric before? The kids and I love sun printing on paper, but incorporating linens into this craft takes it to a whole other level of homemade beauty. We […]