“Everything that slows us down and forces patience,
everything that sets us back into the slow circles of nature,
is a help. Gardening is an instrument of grace.” – May Sarton
![]()
![]()
![]()
![]()
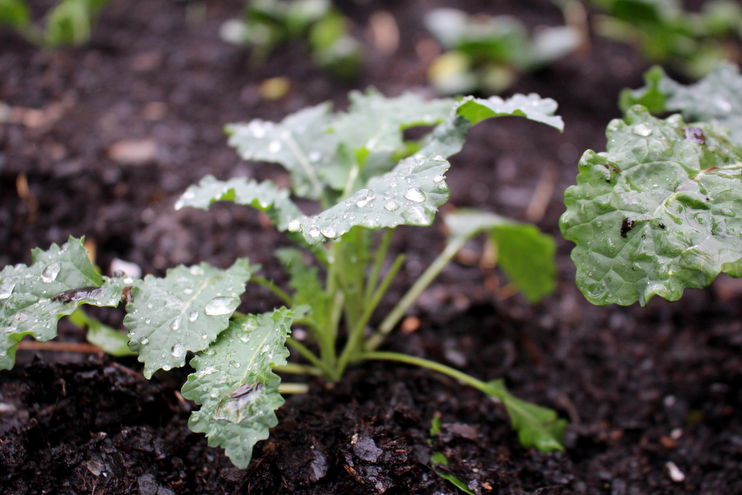
It’s about that time, folks! How’s the mud treatin’ ya? Or dare I say snow? Spring is here according the calendar, but it’s only just begun, so let’s chat about our home gardens, shall we? Have you planted your spring garden yet? Have you started seeds indoors or thought about what you want to grow and eat? It’s been a tricky and long winter indeed, and I have to say, I haven’t done much beyond dreaming about the smell of tomato plants and cutting fresh chives for our morning eggs. But because Mother Nature is taking her sweet time this season, there’s no need to rush. Gardening shouldn’t be a rush anyhow, but more like a gentle conversation with the earth. I have still deciding on what we will plant this year, and am eager to try new heirloom varietals out. I also want to try my hand at companion planting in our three garden beds, and will share that process with you as well!
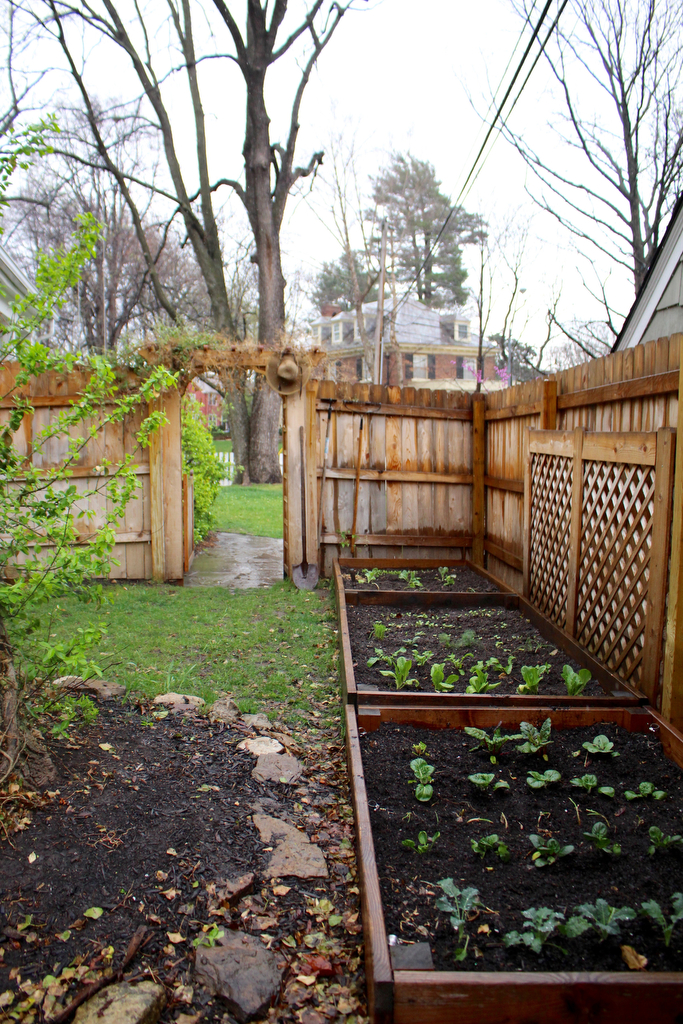
But in the mean time, let’s talk about what early spring offers us in the garden. Now is the time of year when the soil is beginning to firm up and dry, so before then make sure you get around to tilling your beds or soil. Soil is the softest usually after the last frost, so now is also the time to get your fencing up if you plan on keeping critters out. We have quite the community of squirrels in your backyard (I see three right now as I type this near the windows in our bedroom!) and they happen to love vegetables just as much as I. And you know the funny thing is, they know when they’re ripe! Seriously! I’ll be waiting for the perfect day to pick something and wouldn’t you know, Nutkin has already beaten me to the punch, the little rascal. It’s terribly frustrating when you see a stolen tomato or cucumber, and know that it wasn’t one of the kids who took a nibble. Not this year; in goes the chicken wire.
Let’s you and I begin the slow trickle of garden work that soon enough will be more like a waterfall or rushing stream. If you’re impatient now, just keep reading up on new plant varietals you’re wanting to experiment with this growing season, and perhaps what companion planting could look like for your garden depending on where you live. And if you’re needing a bit of direction on what to do this time of year, check out my early spring to-do’s and begin this week. For more inspiration, stop by your local nursery for seeds, grab a farmer’s almanac to thumbs through throughout the year, and get planning:
- Remove any winter mulch or ground covering from the garden beds, and turn over any winter cover crops you planted last season
- Till the soil and add compost you’ve been making or have purchased as soon as it starts to dry
- Install birdhouses around your property to attract these lovelies creatures and scatter wildflower seeds
- Sow cold-tolerant vegetables like peas, root crops, and hearty lettuce, directly into the soil as they are now able to thrive.
- Start cold-intolerant plants indoors using old egg cartons as seed starters (see below)
- If you feel that Mr. Frost may be paying you a visit, consider making hoop houses over your garden beds to protect these greens from freezing. A trip to the hardware store is all you need to make them.
Seed Starting Primer
Starting seeds indoors sounds like a complicated matter if this is your first merry-go-round, but really, it’s as simple as tucking a seed in the soil and spritzing it each day. You don’t even need to buy the fancy seed starters from the nursery, as we use old egg cartons and they work really, really well. Follow the steps below and you’ll be set to transplant in several weeks!
- Get a good mixture of soil from the nursery that has been fed with compost to make little beds for your seeds
- Put it in a small container, like an egg carton, and press it down with you finger.
- Drop the seed in the hole, and cover with soil. Some seeds need deeper holes, some more shallow, so refer to each seed packet for guidance there.
- Keep soil moist by spraying it gently with a water bottle, but do not overwater as it will rot the seed and that’s no good.
- Once the seed has sprouted (do a little happy dance!) and then move your seed home to a sunny window to continue growing and mist as needed. I am thinking I’ll put ours in the sunny dormers in our loft.
- As your plants grow, you can move them to various new homes that are roomier in size until its officially time to give them their final home in your garden. See the soil temperatures below for guidance.
- The most important thing you can remember is to make sure the soil is always moist and warm indoors. Note where you keep the seeds in the sunlight, given that windows make for draftier homes than other places indoors. If you happen to be starting a large amount of seeds indoors, a heat lamp might be helpful, but is certainly not necessary.
- One last thing, DO NOT forget to label your containers! You will forget, trust me. I always think I’ll remember and I never do.
Vegetable Seeds + Soil Temperature Guideline
Cold Soil | 40-50 degrees | lettuce + peas + spinach + root vegetables like potatoes and carrots + radishes + red and green cabbage + cauliflower
Mild Soil | 50-60 degrees | beets + hearty herbs like parsley and sage + Swiss chard + leeks + onions + parsnips
Warm Soil |60-70 degrees | peppers + beans + cucumbers + tomatoes + sweet corn
Hot Soil| 70+ degrees | melons + pumpkins + eggplant + squash
* invest in a small soil thermometer to help guide you!
There you have it. I will be sharing my early spring endeavors on Instagram this season so be sure to follow along! And for your gardening-related reading pleasure, you can read more about…
- Late Spring In the Garden + Lovely gardening Quotes
- Simple DIY gardening labels
- A playlist to listen to while you garden
- Last year’s spring garden
- How to dry garden herbs

Katie Connors - You are such an inspriation!
Taylor Norris - I’ve never gardened before and don’t currently have a yard but every spring it sounds more and more delightful. Essential, even. Also, the quote at the top of this post made me think you’d really really like this book: https://www.goodreads.com/book/show/30010106-liturgy-of-the-ordinary?ac=1&from_search=true
Emily - I think you will like the book, Carrots Love Tomatoes. It is a book about companion gardening and was recommended to me by a primo gardener in Napa!