

Good morning, good morning! This is a follow up post to this one I wrote last year because I have a fun little idea to share with you. I have been hanging herbs for years now, having started this fun little means of preservation back when we lived right next to the River Market in Kansas City. Coffee in hand on early weekend mornings, Andrew and I would walk to the market and I’d get a big bunch of locally grown herbs to cook with for supper throughout the week. As summer would start winding down, I buy herbs to take home and hang so I’d have bunches on hand for autumn and winter meals. I could never get over why herbs were so darn expensive in the store, yet one could buy them in bulk, or better yet grow their own, and use them throughout the year for a fraction of the cost. At that time we didn’t have any outdoor space to call our own, but thinking back I think I could have easily put a pot out somewhere to grow something. Alas, the three places we lived in after that open-air loft did have private outdoor spaces, two of them sizable balconies, where I grew many herbs throughout the growing season.
In our last home I’d hang herbs I both grow and bought at the market on our exposed shelving in the kitchen, an easy place near the stove where I could grab some when needed, putting them in slow cooked meals for an extra boost of flavor. In our current home, I had been hanging our herbs on the peg rack in the mudroom, but I’ve recently started drying so many that I decided to come up with another location for them. Another home so I can really take advantage of all the yummy herbs our garden is providing. Also, it’s not very sanitary to dry herbs next to the brooms, however pretty they may be.
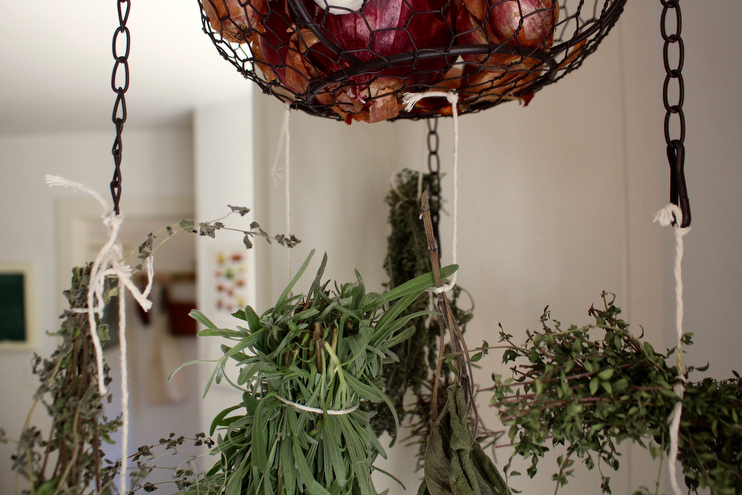
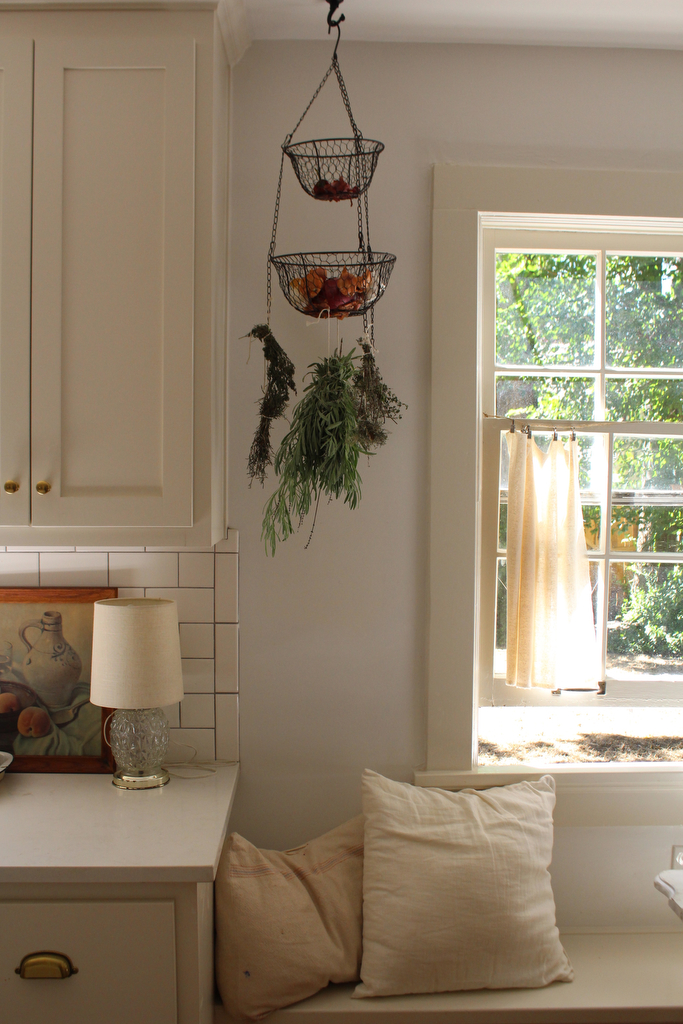
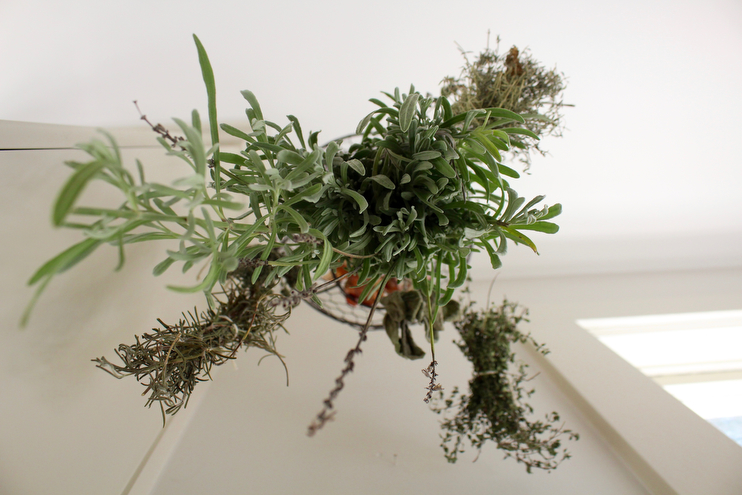
One afternoon I was putting away groceries in the cupboard right next to our tiered hanging wire basket and realized that this neat contraption just might be the perfect way to dry our herbs in addition to storing some of our fruits and veggies. I realized that by hanging the herbs off the bottom of the third larger basket with some jute or string they would hang pretty low, so I simply removed the larger basket on the bottom (which I suppose you could easily do with the top) and started from there. This ensured that this would be out of reach for the kids and I grabbed my role of jute. I took the herbs I had been drying in the mud room and moved them, fastening each tied bundle to the bottom basket by tying a double knot with some string to hang loose. I decided to keep the length of the ropes varied so the greens would look like they were dancing around up there next to the window in our nook. I loved the way it turned out.
I was originally inspired by this pretty herb hanger that I’ve had on my wish list for years now, but I honestly can’t come up with a place to hang it and don’t want to purchase it just because, so this is the perfect solution! And you may be asking, what does one use these dried herbs for? They are the perfect addition to cooler weather soups and stews. Honestly, herbs and spices make all the difference when slow cooking so I always have a a wide variety on hand. I add my dried herbs during the cooking process as opposed to after, for a bit of freshening as I would with non-dried ones. Most dried herbs have a tendency to get stronger with time, the drying process concentrating their flavor.
It’s also worth mentioning that not all herbs are best for drying. I suppose you could dry them, but personally I think some are better dried and some are just better fresh. But that’s me! I think the best herbs for drying are ones with woody stems, much like the process you would follow when wanting to dry flowers. Such herbs include:
- Thyme
- Rosemary
- Lavender
- Oregano
- Sage
- Mint…possibly?
Then there are herbs I prefer not to dry but rather chop up and add to dishes when they are completed. Adding fresh herbs to sauces, homemade salad dressings, and on the top of slow cooked meals is my favorite way to use fresh herbs. They add a unique brightness that the dried variety cannot match. Such herbs include:
- Cilantro
- Parsley – (Shown in Part One of this post series…but not recommended as it didn’t fare well)
- Basil
- Chives
- Tarragon
I’d like to include that the recipes I’ve come across that say you can use either fresh or dried herbs, depending on your preference, are not giving you the whole picture. Fresh basil, for example, does not taste anything like dried basil. Dried cilantro, don’t even think about it. I don’t even know what recipe I’d use that for! Stick to fresh when recipes say ‘use fresh’ and stick to dried when recipes say ‘use dried’ and you’ll be a happy camper. Follow the simple guidelines above and you can’t go wrong with these lovely flavors. And one more thing, dried herbs can lose their aroma and therefore end up not giving off any flavor when you add them to a dish. Make sure if you are using dried to smell them beforehand. If they smell strong, they are good to go! If they smell like cardboard, toss them. What dishes do you like to use dried herbs in? What about fresh herbs? Let’s hear your herbal inspiration!
.jpg)
Catryn - Love this! So good to know.
My boyfriend just recently bought a little herb planter starter kit for us to use in house. It came with 6 herbs to start out with (I think Rosemary, Thyme and Basil were all in there, but I’d have to check on the rest). But we are so excited to start growing our own. Trying to bring some fresh greenery into our high-rise apartment!
I’ll have to bookmark this for when I want to start drying some!
Sweet Horizon
Liz Quick - I NEEDED this post! I have been wanting to dry my own herbs for so long and haven’t taken the time to research how/what to do. This is simple and a great beginner’s post. 🙂
Eda - this is such a great idea, thank you! sometimes we buy fresh herbs and end up tossing them, because we had no chance to use a second or third time that week.
when it comes to dried mint, i think you can use it for tee. this works perfect. or you can make your own hydrolate (there are different ways to make it, but for me it works best with an italian coffee maker). after cooking it you can add essential oils (and alcohol if you want to keep it longer) to create you own toner. here in switzerland organic hydrolates are pretty expensive, so i make my own. xo
admin - Eda, I am going to try and dry my mint again…I must have done something wrong because it turned a bit rancid! Mint tea is a favorite around here in the winter time so thank you for the idea! Happy weekending to you! x Amanda
Eda - try laying the mint out on a cotton sheet and not hanging it. so you make sure it doesn’t turn rancid inside the bundle. at least my gran always did it that way and she was a tea-master 🙂 happy weekend to you too, x eda
Caroline - Oh I loooove herbs so much. Its such a joy to have them in the summer.
I LOVE to dry mint! I would put them in the first list of my favourite dry herbs! I dry enough to make mint tea all winter. I love spearmint or peppermint. You should try it!
I also find oregano is actually BETTER when dried. And you should harvest it before it flowers for best results. 🙂
admin - Caroline, thank you lovely! I am going to try my hand at drying mint again. Is there a kind that you found dried better? We have several types growing right now and if it works out well I am certainly going to move mint to the must dry column. 🙂 x Amanda
Carly - We recently tried drying parsley and it didn’t turn out so well, but it was better than just losing all those leaves to the cold weather. I had never thought about drying mint. Definitely need to give that a try. Thanks for the tips!
Carly from http://www.AModernMomBlog.com
Jette - I also like to buy fresh herbs in bulk when they are in season – and when drying is not an option, freezing sometimes is. It works really well for parsley, dill and mint. I don’t like to use dried mint for anything other than a nice tisane/infusion, and dried parsley or dill taste more like sawdust than the real thing. But you can also use frozen mint for making tea – I think that it has a much fresher taste! For anything part of the onion family (like chives), freezing doesn’t work so well. And basil – well, there’s no way around getting it fresh. But it’s not so bad that there are things you can only enjoy at certain times of the year, is it?
Verbena is good for drying, too. And of course, you can also dry many flowers (chamomile, calendula, lime-tree blossom) as well as some kinds of fruit and vegetables… even though some of those take a little bit more effort than just hanging them!
PS: I really enjoy your posts – especially your pictures! Thank you!
Bifrost Photography | Link Round-Up - […] ♥ Winding down to Autumn and Winter has made me start thinking about our little roof terrace full of herbs – cue a very timely post about how to use dried herbs from Amanda! […]
Besondere Beiträge – Der besondere Alltag - […] Weil ich gerne Kräuter trockne engl. […]
Vivi - Hello!
I am new here and really enjoy reading your posts. I just came across this post and I know it’s a bit older but wondering if you tried dried mint? And in what type of food? We use it a lot in our Lebanese dishes…such as in salads, pizzas, and of course tea. Keep up the great posts!
Early Spring in the Garden | To Do’s + Seed Starting Primer » Homesong - […] How to dry garden herbs […]