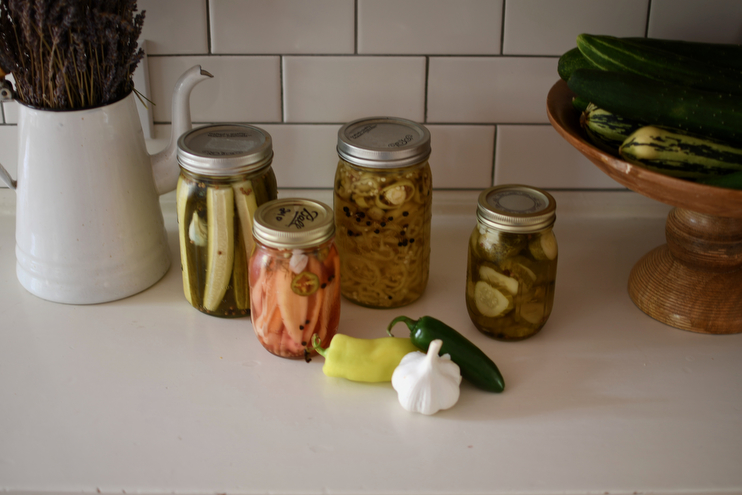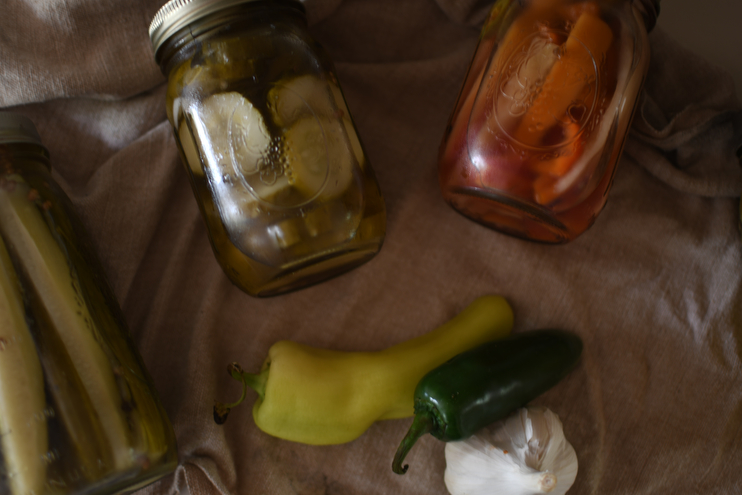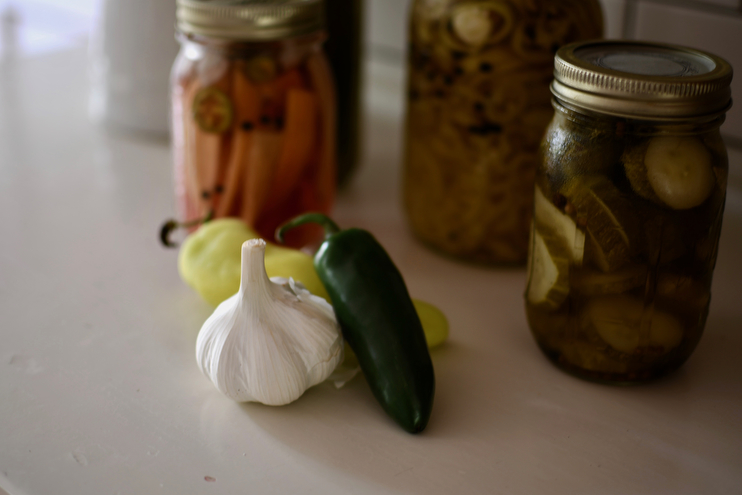


It’s high summer at home, my friends, which means prime pickling seasons is upon us. Have you pickled anything yet? Have you been itching to? Whenever I think about pickling, it’s grandma Mary Jeanne my thoughts return to. She and my grandpa had a large farm garden, and you better believe they grew heaps of cucumbers and beans, most of which would end up a pickle whether it wanted to or not.
I don’t know if there was ever a time when I’d open their refrigerator and not see one or two big canning jars full of pickles sitting in a sweet and salty brine. It was a year-round staple in their home until the very end, something I remember snacking on the last time I visited before they had to sell their home and move elsewhere. This was just last summer. Grandma is in Heaven now, which is to say, right here beside me, holding my hands as I type these words and reminisce about pickles on a balmy Friday morning. I miss her so much, but sharing all the ways she helped me see the beauty in the ordinary arts of life is a balm of its own. So let’s talk some more about pickles and how one can transform garden goods in a matter of a few hours, give or take.
First let it be known that you can pickle just about anything from the garden! The term “pickle” doesn’t mean persevered cucumbers, but rather preserved anything in a vinegar-based brine that has been gussied up to your liking. One of the best things about pickling is it’s forgiving nature, for you really can’t go wrong once you’ve got a good base established, because building flavor profiles beyond that simple base is what makes your pickles yours!
Personally, I like my pickles a little sweet, a little spicy, a little herbal, and very vinegary. I also like my pickles refrigerated, and prefer to have them crunchy to the bite so I don’t bother simmering them in the brine at all. I have tinkered around with various seeds and spices to add, and while the pre-packaged picking spices are alright, I tend to find the best results when I keep things simple and make my own.
Below is the simple, non-fussy, go-to recipe my grandma taught me years ago. It doesn’t require canning, but you sure could add that step if you plan on making lots of jars at once, which I recommend you do if you eat pickles as much as I. And beyond the nostalgia these pickles give me, they are also a very inexpensive and practical way to preserve your harvest. If you don’t have a garden of your own, be sure use this recipe and method for farmer’s market goods!
Ingredients for Pickling Brine Base: (Makes ~ 1 quart of brine)
- 2 cups distilled white vinegar
- 1-2 cups water (if you love vinegar use 1 cup of water, if you like it use 2 cups of water)
- 3 tablespoons cane sugar
- 1 tablespoon sea salt
- 2 teaspoons coriander seeds
- 1 teaspoon black peppercorns
- 2-3 whole solved garlic
Yummy Extras to Add:
- Fresh herbs, such as dill, thyme, or rosemary
- Bay leaf
- Whole cloves
- Dried chili flakes
My Favorite Vegetables to Pickle:
- Cucumbers
- Peppers, especially banana and sweet
- Green Beans
- Cauliflower
- Carrots
- Onions
- Okra
- Chillies
- Turnips
- Radishes
- Green tomatoes
- Fennel
- Mushrooms
- Ginger
- Zucchini
Some Lovely Combinations:
- Carrots + Beans + Dill + Chili Flake
- Cucumbers + Cloves + Dill + Jalapeños
- Radishes + Onions + Mushrooms + Thyme
- Cauliflower + Sweet Peppers + Bay Leaf
- Chilies + Rosemary + Green Tomatoes
To prepare, combine all ingredients from Pickling Brine Base above in a saucepan and bring to a rolling boil. While you are waiting for your brine to boil, pack *warm sterilized canning jars with vegetables of your choice. I love combining vegetables, say jalapeños with cucumbers, or carrots with beans. Get creative with this step and pickle what you prefer. Once your jars are packed tight, turn off the heat and pour the hot brine into the jars, leaving about 1 inch of room at the top for expansion. Make sure each jar gets the same amount of seeds, herbs, garlic, and so on. Once the jars are filled with brine, screw on the lid and seal. The jars should self-seal sometime within the next hour or so, popping on the counter, but leave them out at room temperature until they have fully cooled and sealed. A hot jar in the refrigerator will crack! Once cooled, store in the refrigerator for up to 3 months. If you make too much brine, no worries. It’ll keep indefinitely in a jar of its own until you need to pickle again!
*It’s a good idea to prepare a warm water bath beforehand and let your jars hang out in there until ready for use. If you use a cold jar and pour very hot liquid into it, chances are high it will crack, which is why the warm jar method is essential.
Happy pickling! xx
.jpg)
Erin - I love this post and am looking forward to pickling this month! Have you ever tried asparagus? I wonder how those would do.
Cussot - The garlic in the pickling brine recipe doesn’t seem quite right; is it supposed to be “2-3 whole cloves of garlic”?
admin - Yes, that is what I use, but you could omit or use more depending on your preference! xx
Frivolous Friday – Chasing Cozy - […] Do you pickle? […]
Emilie - Hi!
I made your pickle recipe and I’m so excited to try them. I’m wondering how long you leave them in the sealed jars before eating them?
Thanks!
Emilie
annette - i enjoyed reading about your grandma and grandpa .. i love hearing about how people use to make good with all they have , they always find a way to repurpose , nothing is wasted ..
can i ask tho that if vinegar is added in a pickle it is no more a probiotic ..
thank you for sharing ,both your beautiful and precious story ..
wishing you a blessed day ..